

Powerpoint Timelines:
Timelines are a visual representation of events, laying them out in chronological order. They are particularly helpful in business presentations, academic lectures, or project management to display milestones, historical events, or project phases. Microsoft PowerPoint provides tools to create a professional-looking timeline. Here’s your step-by-step guide to mastering this.
1. Understanding the Significance of Timelines
Timelines offer a chronological representation of events, making them perfect for:
- Project Management: Track project phases or milestones.
- Historical Events: Showcase a sequence of events over time.
- Business Presentations: Illustrate company growth, product launches, or future plans.
2. Initiating a Timeline in PowerPoint
a. Start Fresh: Open PowerPoint and choose a blank slide for an uncluttered workspace.
b. Access the ‘Insert’ Tab: This is where most of your tools are!
c. Choose ‘SmartArt’: A plethora of graphic options will appear, including timeline templates.
3. Selecting the Perfect Timeline Style
PowerPoint offers a range of styles. Some popular ones include:
- Basic Timeline: For simple, linear processes.
- Circle Accent Timeline: To emphasize specific events.
- Tabbed Arc Timeline: Great for presentations with a futuristic theme.
Choose one that resonates with your content and audience!
4. Customizing Your Timeline
a. Add Text: Click on the [Text] placeholders to add your content.
b. Color it Up: Choose ‘Change Colors’ for pre-set color themes.
c. Style Up: Use the ‘Design’ tab to experiment with different styles.
5. Advanced Customization: Making Your Timeline Stand Out
a. Use Icons: Enhance clarity with relevant icons for each event.
b. Insert Images: A picture speaks a thousand words. Add relevant images where necessary.
c. Play with Fonts: Experiment with font styles and sizes for better readability.
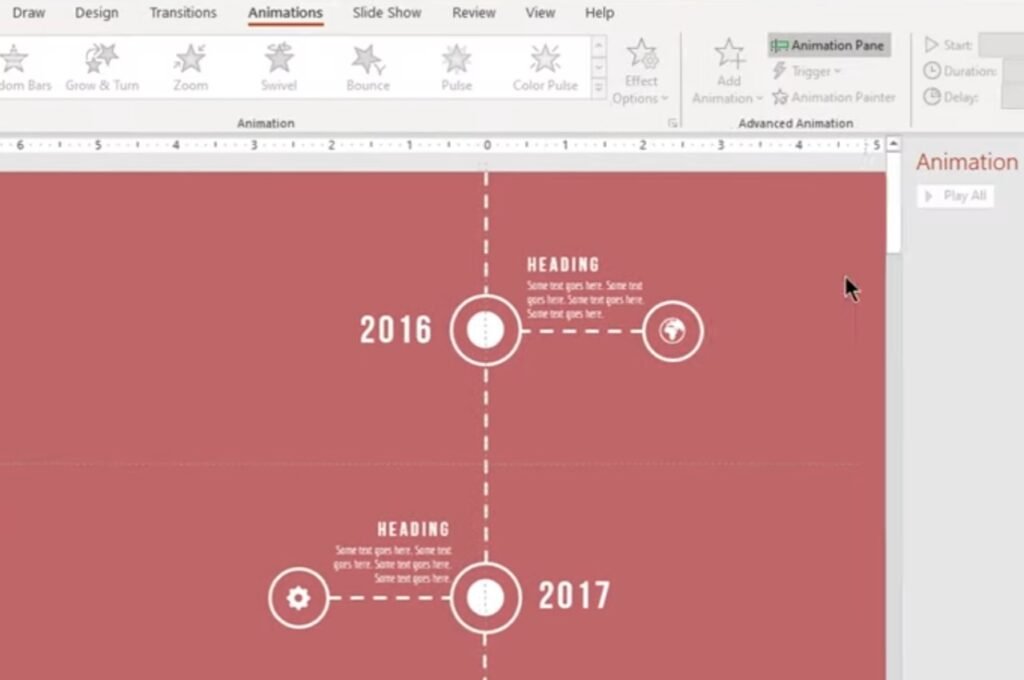
6. Animating Your Timeline
Capture attention with animations!
a. Select Your Timeline: Click on the border of your timeline.
b. Access Animations Tab: Choose from a variety of options like ‘Fade’, ‘Zoom’, or ‘Wipe’.
c. Preview: Always preview to ensure smooth transitions.
7. Expert Tips for a Stellar Timeline
- Stay Consistent: Uniformity in fonts, colors, and icons enhances professionalism.
- Avoid Clutter: Less is more. Only include pivotal events or milestones.
- Seek Feedback: Before the final presentation, get a fresh pair of eyes to review.
Final Tips:
Crafting an impactful timeline in PowerPoint might seem daunting at first, but with practice, it becomes second nature. Use this guide as your companion, and you’ll be on your way to creating presentations that not only inform but also impress!